How to Save Seeds from Your Garden So You Never Have to Buy Them Again
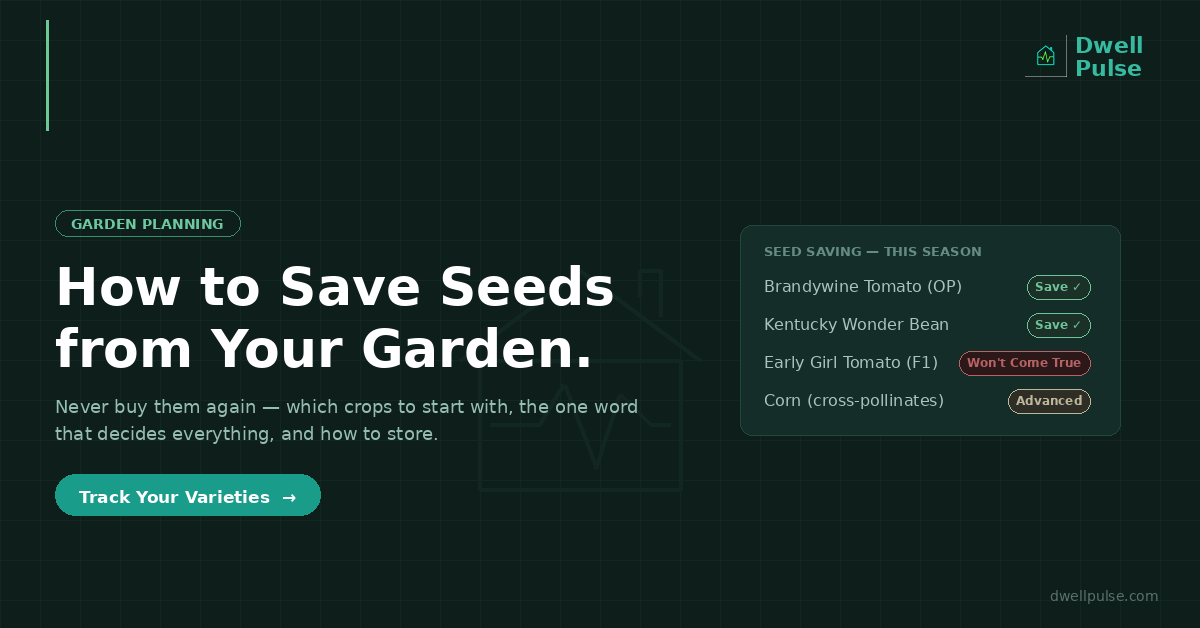
At the end of every growing season, most gardeners let their spent plants go to the compost — and quietly throw away next year’s entire seed supply in the process. That tomato you loved, the beans that produced all summer, the peppers that thrived in your exact garden: every one of them made seeds, for free, that will grow the same plant again next year. Learning to save them is one of the most satisfying and money-saving skills in gardening, and it’s far easier than most people think.
Here’s how to save seeds from your garden — which crops to start with, the single most important thing to check before you bother, and how to harvest, clean, dry, and store them so they’re ready to plant next spring.
The One Word That Decides Everything: “Hybrid”
Before you save a single seed, check the original seed packet or plant tag for one word. It determines whether seed saving will even work [1].
- Open-pollinated / heirloom / “OP”: These grow true to type — the seed you save produces the same plant next year. Save these. (All heirlooms are open-pollinated; they’re open-pollinated varieties that have been stable for generations.)
- Hybrid / “F1”: These are a cross of two different parent plants. Their saved seed will not come back the same — it segregates in the next generation into an unpredictable mix of the parent traits [2]. Common for supermarket and many big-box-store varieties.
That one word on the label is the whole decision. If it says heirloom, OP, or open-pollinated, you’re clear to save. If it says F1 or hybrid, the plant was wonderful but its seeds won’t reproduce it — buy fresh next year or grow an open-pollinated variety you can save from.
The 5 Easiest Crops for Beginners
If this is your first time, start with self-pollinating crops. Their flowers pollinate themselves before they even open, so they rarely cross with neighboring varieties and need almost no special handling. Extension services and seed savers consistently recommend the same five [3]:
- Beans
- Peas
- Tomatoes
- Peppers
- Lettuce
Beans and peas are the very easiest of all — the pods dry the seed for you right on the plant. Tomatoes, peppers, and lettuce are nearly as simple.
Save the tricky ones for later. Corn, squash, cucumbers, melons, and the cabbage family are cross-pollinators — they readily cross with other varieties via wind or bees, so keeping them pure requires real isolation (sometimes hundreds of feet) [4]. And skip biennials entirely as a beginner — cabbage, beets, carrots, cauliflower, onions, and turnips only set seed in their second year, which complicates everything [5].
Always Save from Your Best Plants
Seed saving is a form of selection, so choose deliberately. Harvest seeds from your healthiest, most disease-free, best-tasting, most productive plants — never from a sickly or atypical one [6]. Over several seasons, this quietly breeds a strain that’s adapted to your specific garden. Save from several plants of the same variety rather than just one, to preserve the full genetic range and vigor.
One catch to plan for: to save seed, you have to let the vegetable fully mature past eating stage — a bean pod dries brown and brittle, a cucumber goes fat and yellow, a pepper wrinkles. Once a plant sets mature seed, it slows production, so dedicate a few specific plants (or a few specific fruits) to seed and keep harvesting the rest for the kitchen.
Dry Seeds vs. Wet Seeds: The Two Methods
Every crop falls into one of two categories, and the method follows from which it is [7].
Dry-seeded crops (beans, peas, lettuce): the seeds mature and dry right on the plant.
- Leave the pods or seed heads on the plant until they turn brown and brittle — the seeds should rattle inside.
- Harvest before pods split and scatter, then spread everything in a single layer in a dry, well-ventilated spot for one to two weeks to finish drying.
- Shell out the seeds and remove the chaff.
Wet-seeded crops (tomatoes, peppers, cucumbers, squash, melons): the seeds are embedded in wet flesh and must be extracted from fully ripe fruit.
- Peppers are the simplest wet seed: just harvest a fully ripe (fully colored) pepper, scrape the seeds out, and dry them. No fermentation needed.
- Tomatoes need fermentation (more below).
- For cucumbers, squash, and melons, scoop the seed mass out of an overripe fruit and use the wet/fermentation method to clean it.
How to Ferment Tomato Seeds (It’s Easier Than It Sounds)
Tomato seeds are coated in a gel that actually inhibits germination (it’s why seeds don’t sprout inside the fruit). A short fermentation removes that gel, cleans the seed, and kills seed-borne diseases [8]. Here’s the whole process:
- Scoop the seeds and surrounding gel from a fully ripe tomato into a jar.
- Add a little water and let it sit at room temperature (around 75–85°F) for 2 to 4 days, stirring daily. A layer of mold on top is normal and part of the process.
- The good seeds sink; the pulp, mold, and bad seeds float. Pour off everything floating.
- Rinse the settled seeds thoroughly under water until clean.
- Spread them in a single thin layer on a paper plate, paper towel, or screen to dry completely.
The same wet method works for cucumbers, melons, and squash.
Drying and Storing Seeds So They Last
Proper drying and storage is what separates seeds that germinate next spring from a jar of dead seeds.
- Dry thoroughly. Seeds must be completely dry before storage or they’ll mold. A good test: a dry seed snaps rather than bends [9]. Dry on paper or a screen, out of direct sun, for one to several weeks depending on the crop.
- Store cool, dark, and dry. An airtight container — an envelope inside a jar, or a sealed jar with a desiccant packet — in a cool, dark place. A refrigerator works well. Heat and humidity are what kill stored seeds.
- Label everything. Write the crop, the variety, and the year on every container. Unlabeled seeds are a guessing game by next March — and knowing the variety is the entire point of having saved that specific plant.
How long do saved seeds last? It varies by crop — some stay viable only a year or two, others several years — but properly dried and stored seed from these easy crops will generally be good for at least a few seasons. When in doubt, a quick germination test (sprout ten on a damp paper towel) tells you if a batch is still good before you commit a whole bed to it.
Why Tracking Your Saved Seeds Matters
Seed saving is a year-over-year project, and the details are exactly the kind that slip away between October and March. Which variety was that? Was it open-pollinated or a hybrid you shouldn’t have bothered with? What year did you save it, and is it still viable? Which of your plants produced the best fruit worth saving from? Lose track of any of this and the free seed supply you carefully collected becomes a jar of mystery seeds.
The gardeners who build a reliable, self-sustaining seed supply are the ones who keep records — variety names, which plants performed best, what they saved and when. That memory is what turns one season’s saving into a garden that reseeds itself for years.
How DwellPulse Helps
DwellPulse helps you keep the records that make seed saving pay off season after season. Track each crop by its specific variety name, log which plants performed best through the season with health and yield notes, and keep it all tied to the bed it grew in — so next spring you know exactly which variety to replant and where it thrived. The plant database includes details like whether a plant is self- or cross-pollinating and how long its seeds stay viable, so you can plan what’s worth saving. And with your full planting and harvest history in one place, you’ll always know what you saved, from which plants, and when — turning seed saving from a hopeful jar of unlabeled seeds into a deliberate, self-sustaining garden.
Track your varieties season to season →
Sources: [1] Agripure, “Seed Saving: How to Save Heirloom Seeds Year to Year,” June 2026, on checking the packet for “F1/hybrid” vs. “open-pollinated/OP/heirloom” as the deciding factor. [2] Forks in the Dirt, “Seed Saving: Vegetables,” October 2025, and Grit, “Saving Vegetable Seeds,” June 2026, on F1 hybrids not coming true and the heirloom/open-pollinated distinction. [3] Farmers’ Almanac, “Heirloom Seeds: How to Harvest, Save, and Store,” July 2026, and Agripure, on the five easiest self-pollinating crops (beans, peas, tomatoes, peppers, lettuce). [4] Farmers’ Almanac and NC State Extension (Onslow County), “Saving Your Own Seed,” on cross-pollinating crops requiring isolation. [5] The Old Farmer’s Almanac, “How to Save Seeds,” July 2025, on biennial crops not being recommended for beginners. [6] UC ANR, “Saving Summer Vegetable Seeds,” March 2026, on selecting seeds from the best, disease-free plants and letting vegetables set mature seed. [7] UC ANR and Homesteaders of America, “How to Save Seeds From Your Garden,” 2026, on the dry-method vs. wet-method distinction. [8] UC ANR, NC State Extension, and Living Green and Frugally, “Saving Vegetable Seeds,” 2026, on the 2–4 day tomato fermentation process at 75–85°F. [9] Farmers’ Almanac, on drying seeds until a seed snaps instead of bends, and cool/dark/dry storage.
* This article was written with the assistance of AI tools. All content is reviewed and edited by Josh Standeven.
Ready to take control of your home?
DwellPulse is free to start — track maintenance, projects, appliances, and your garden all in one place.
Start Free Today →