Sealing Drafts Before Winter: Where Your House Actually Leaks (It's Not Mostly the Windows)
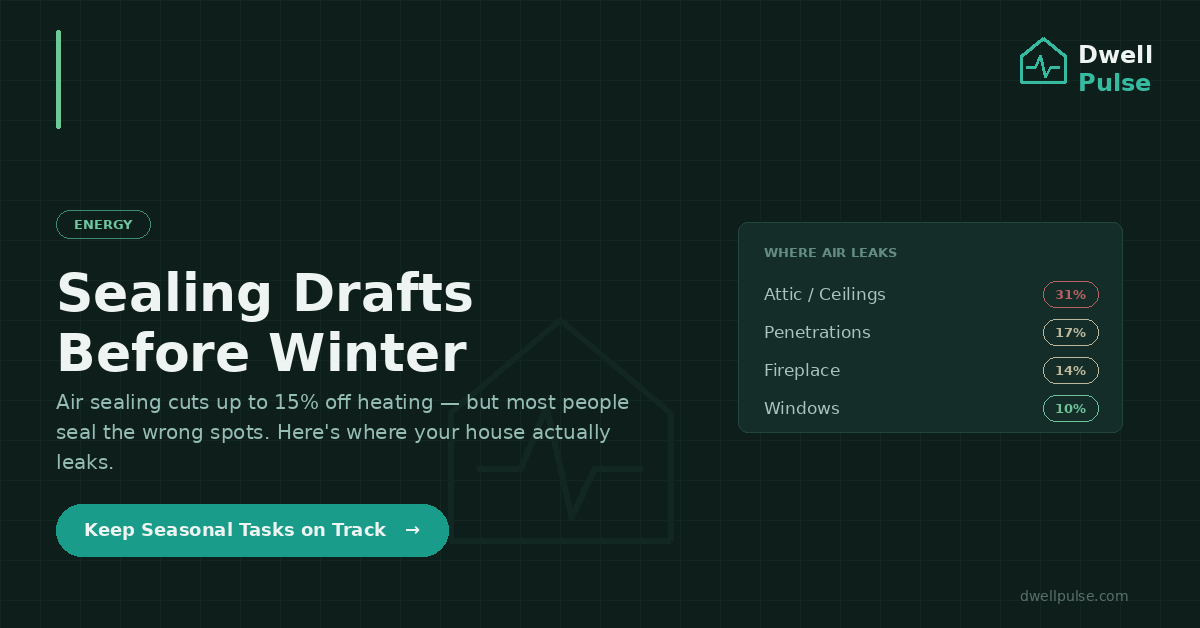
Air sealing is one of the rare home upgrades where a weekend and a few tubes of caulk can knock 11% off your total energy bill and 15% off heating and cooling, according to ENERGY STAR and the EPA’s own modeling [1]. There’s no $12,000 equipment, no contractor, no permit. Just finding the holes and closing them.
The catch: most homeowners seal the wrong holes first. They spend a Saturday fussing over window weatherstripping — and windows are one of the smallest leaks in the house.
Where Your House Actually Leaks
Here’s the breakdown that reframes the whole project. Across a typical home, air leaks sort out roughly like this [2]:
| Where the air goes | Share of leakage |
|---|---|
| Floors, walls, and ceilings (especially the attic) | 31% |
| Plumbing, electrical & HVAC penetrations | 17% |
| Ducts | 15% |
| Fireplace | 14% |
| Doors | 11% |
| Windows | 10% |
| Electrical outlets | 2% |
Notice what’s at the top — and what isn’t. Windows and doors combined are only about 21% of the problem. The biggest single category is the attic and the gaps where the living space meets unconditioned space. Warm air rises, finds the holes around the attic hatch, recessed lights, and top plates, and leaves — pulling cold air in low to replace it. That’s the draft you feel at your ankles.
So the honest priority order for a weekend is: attic and big penetrations first, then the fireplace and doors, then windows. Start where the air actually is.
The 15-Minute Leak Hunt
You don’t need an energy audit to find the worst offenders. On a cold or windy day, try one of these [2]:
- The hand test — run a slightly damp hand slowly around window frames, door edges, outlets on exterior walls, and the attic hatch. Moving air feels cold on wet skin.
- The incense (or smoke) test — hold a lit incense stick near those same spots. Where the smoke stream jumps or gets sucked sideways, you’ve found a leak.
- The dollar-bill test (doors) — close a door on a dollar bill. If it slides out without any drag, your weatherstripping isn’t sealing and needs replacing.
- A cheap thermal leak detector — points you to the cold spots against a reference temperature if you want to be thorough.
Mark each spot with a bit of painter’s tape as you go, then fix them in one pass.
Caulk or Weatherstrip? Know the Difference
These two do different jobs, and using the wrong one is why seals fail [2]:
- Caulk is for gaps that don’t move — the seams around window and door frames, where trim meets wall, and around pipe and wire penetrations. It’s a permanent sealant. For attic penetrations and recessed lights, use fire-rated caulk or canned spray foam, not standard latex.
- Weatherstripping is for gaps that open and close — the moving edges of doors and operable window sashes. It comes in adhesive foam, V-strip, felt, and door sweeps for the gap at the bottom.
Rule of thumb: if the two surfaces move against each other, weatherstrip it. If they’re fixed, caulk it.
The Weekend Hit List
In rough priority order — the first few deliver most of the savings:
- Attic hatch or door — weatherstrip the perimeter and add a foam gasket; this is often the single leakiest spot in the house.
- Penetrations — caulk or foam around plumbing, wiring, and ducts where they pass through walls, floors, and the ceiling into the attic.
- Rim joists (basement/crawlspace) — the band where the foundation meets the framing; seal and insulate it. ENERGY STAR specifically counts this in its savings figures [1].
- Fireplace — close the damper when not in use, and consider a chimney balloon or draft stopper; an open damper is a chimney-sized hole in your house.
- Exterior doors — replace worn weatherstripping and add a door sweep (the dollar-bill test tells you which ones).
- Outlets and switches on exterior walls — $5 of foam gasket plates behind the covers.
- Windows — caulk the fixed frame seams; weatherstrip or add removable sash locks/film on the operable ones.
One safety note: air sealing a house tighter is almost always good, but don’t choke off combustion appliances or needed ventilation. If you have gas appliances, a wood stove, or bath/kitchen fans doing real work, keep their air supply in mind — tightening the envelope shouldn’t starve them.
Why This One Pays Off Fast
Most home improvements are a bet on the future. Air sealing is closer to found money: materials run a few dollars a tube, the work is a weekend, and the savings start the very next heating bill — up to 15% off the biggest line item on it [1]. In Zone 7a, where we run the furnace hard from November through March, that compounds over a full winter.
The hard part isn’t the skill. It’s remembering to do it before the cold arrives, and knowing whether it actually moved the needle.
How DwellPulse Helps
DwellPulse keeps the seasonal envelope check from slipping until you’re already cold. Set a recurring early-fall reminder to run the leak hunt and reseal before the first hard freeze, and log what you sealed each year so the attic hatch and that drafty back door don’t get forgotten next time. And if you want to see whether the work paid off, DwellPulse’s Expense Forecast — a premium feature, with a free trial available — helps you project and track your home’s operating costs over time, so a weekend of caulk shows up where it counts: a lower, more predictable energy bill. Cheap fix, real return — DwellPulse just makes sure it happens on schedule and that you can see the payoff.
Keep your seasonal home tasks on track →
Sources: [1] ENERGY STAR / U.S. EPA, “Seal and Insulate with ENERGY STAR” and its savings methodology — homeowners save an average of 11% on total energy costs and 15% on heating and cooling by air sealing and adding insulation in attics, crawlspace floors, and accessible basement rim joists (modeled on typical 1970–1989 U.S. homes, Beacon Residential / DOE-2). [2] Colorado State University Extension, “Air Sealing Colorado Homes” — the distribution of air leakage by location (floors/walls/ceilings 31%, penetrations 17%, ducts 15%, fireplace 14%, doors 11%, windows 10%, outlets 2%), the caulk-vs-weatherstripping distinction, and leak-detection methods (hand test, incense/smoke test, thermal detector). The dollar-bill test for door seals reflects standard U.S. Department of Energy weatherization guidance.
* This article was written with the assistance of AI tools. All content is reviewed and edited by Josh Standeven.
Ready to take control of your home?
DwellPulse is free to start — track maintenance, projects, appliances, and your garden all in one place.
Start Free Today →